BUILD - 4 Day Gym Workout
A consistent commitment to 4 days in the gym will yield many positive results - one of which is a changed mindset and habit.
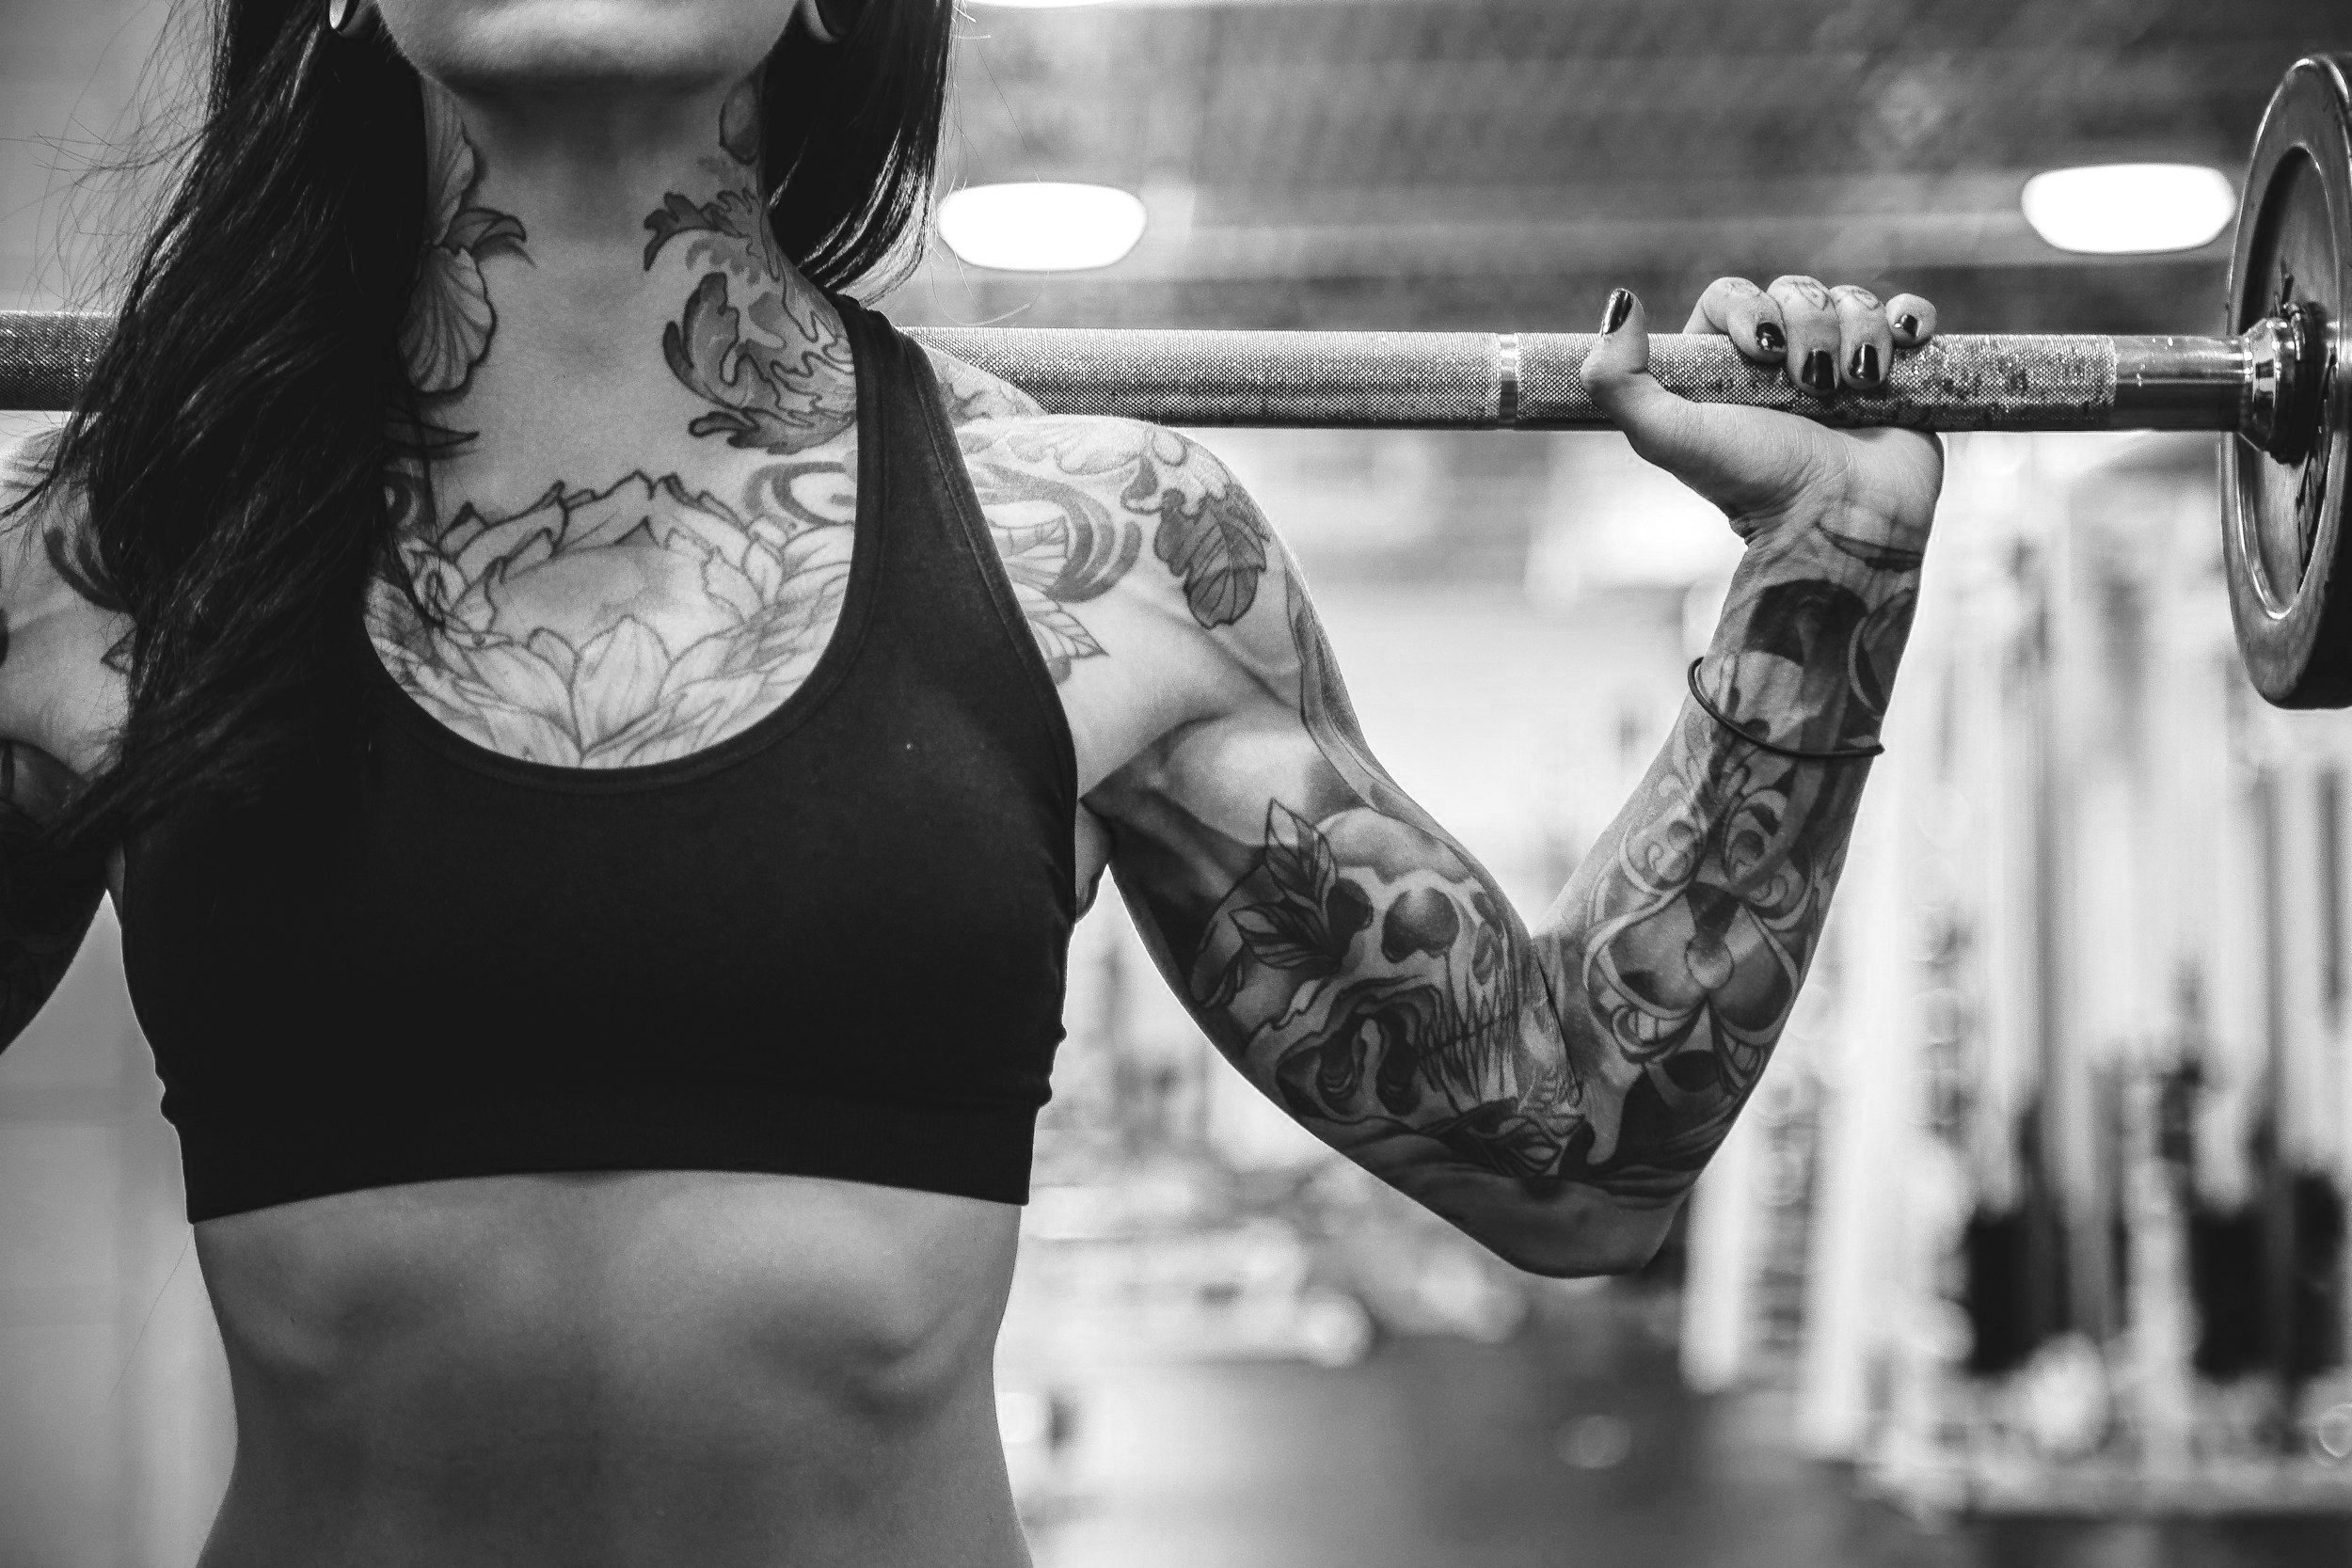
Phase ONE: Day 1 - Upper
-
You get the idea now. First set slightly lighter although not too light. Set the bench on a slight incline (one notch up from flat) - I tend to do this with heavier weights as its easier on my shoulders when I’m tweaking the angles to find the best contraction. Don’t fret if your gym bench doesn’t have an incline function as a flat bench still works.
To get the dumbbells safely onto your chest to begin, start by resting each dumbbell on your thighs. As you begin to lie down on the bench, lift your left leg and then right one shortly after to assist the weights onto your chest.
Plant your feet, glutes and shoulder blades firm against the bench. Brace and then push the dumbbells into the ceiling. Slight internal rotation at the top to maximise the contraction. Hold for a second and control the weight down. Repeat.
-
Stay on the bench and grab some light dumbbells. Start with the weights at the top position and slowly lower them with a slight bend in the elbow. Go as far as possible at which point there will be a nice stretch across your chest. As you return to the starting position notice where the chest is contracting. At the top you want to imagine pushing the weight towards the ceiling to create a slight flex in your chest.
-
If there is failure towards the last 2-3 reps then finish the set with pause reps (drop weights, rest 10 seconds and continue the set). Don’t close your eyes and grit the reps through as this will likely lead to poor form and then injury.
-
Set the cables to the highest position and start with the face pull. Thumbs pointing to the wall behind you as you pull the rope towards your forehead. Movement should be fluid and with even tempo. A heavy weight isn’t necessary as you the point of this exercise is to even out the posture which results in sitting down all day.
Superset into the straight arm pull down. Again there needs to be an even tempo here. The cable is ideal as it allows you to pull just past your hips to increase contraction. Body position should be similar to the barbell back row - knees bent with glutes extended behind you, stable feet and core. Feel the lats stretch.
-
Hand placement should be a tad wider than shoulder width but experiment to see which placement yields the most contraction as we all move differently.
Utilise pause reps during a set to complete the required reps. Don’t force the reps out as the body will naturally arch excessively to lift the weight. When you feel this happening, rack the bar, rest for 10 seconds do one rep (or two) and rest again for another 10 seconds if necessary until all reps are complete.
-
Choose a light weight and then progress heavier once you have a feel of what muscles these are meant to be working - the side delts. Start by tensing the shoulder muscles - this triggers the brain into using the delts to move the weight rather than the hand. Slowly move this weight until your palms are facing the floor. Pause for a second and then control the weight back down - don’t let it drop. You need to be in control of the weight not gravity.
-
These are included as part of the gym workouts as they are a good finishing exercise after all the compound movements.
If the gym doesn’t have a stretch area or even space on the floor to do these (unlikely) you can substitute with rope crunches and face pulls on the cable machine/
Phase ONE: Day 2 - Lower
-
Progressive overload for each set meaning as weight should be added for each set. Heavy squats require a proper warm up and given we are all short on time, this is the right balance between going heavy and mitigating injury.
Before the first set, warm up with the bar and pause half way down, feel how the bar is balanced on your feet. Try and maximise contact between your feet and the ground as this stability is key for moving heavy weights safely. Do a few reps like this and then full squats with just the bar.
As the weights get heavier the motion and tempo should remain the same. To achieve this, think about how the muscles should be working to move the weight. Be mindful of how your body is moving through the space you are occupying. Mindless movement leads to injury. Focus.
-
Stay on the squat rack. Step back and alternate legs. 8 reps on each side. As you feel the stretch on your glutes, focus on that feeling and use those muscles to drive the weight back up. Maintaining the barbell balanced adds a different dynamic to this movement but it helps engage your core.
-
Similar to the squats, these rep splits are deliberate in order to maximise hypertrophy and mitigating injury through sensible progressive overload.
The last 2 sets may become too heavy after a few reps in which case let go of the bar rather than complete the rep. The deadlift is not a movement you want to grind through.
-
Calf raises on the smith machine will require a raise platform so your heels are allowed to drop below parallel to maximise range of motion.
The alternative is to use a leg press machine and place the balls of your feet at the bottom of the leg press platform.
In either case, hold the contracted position of the calf at the top of the movement for a second before lowering to the starting position. High reps with progressive overload on each set.
-
Find the stretch area of the gym or if there isn’t one just find an appropriate are of the gym floor where you can perform these safely (away from falling weights).
To ensure we work the upper portion of your abdominals, raise your leg and continue until your butt is off the floor and feet is angled away from the wall facing you. 20 reps and then straight into the Angels & Devils.
Hold the superman pose for a moment and then imagine performing a lat pull down as you bring your elbows to the side of your torso. Finish the motion by meeting your hands behind your back.
Phase ONE: Day 3 - Upper
-
Set the bench to the incline below 90 degrees. Aim here is to target the upper portion of the chest so look for this contraction as you move the dumbbells. Adjust your hand and elbow positions til you find that stretch. At the bottom position, lift the weight a few centimetres and hold, that contraction should be felt in the upper regions of the chest. Experiment til you find this contraction.
-
If there is failure towards the last 2-3 reps then finish the set with pause reps (drop weights, rest 10 seconds and continue the set). Don’t close your eyes and grit the reps through as this will likely lead to poor form and then injury.
-
As the smith machine follows a fixed path, make sure your hand placement doesn’t cause any pain in the shoulders. A wider than usual grip (when compared to your normal barbell placement) works for most people.
Accelerate the weight up and hold that tension at the top before controlling the bar back to the starting position. On the way down you want to still feel like you are fighting against the weight - this maintains greater tension on the shoulders and maximises time under tension.
Jump straight into the lateral raises (have them ready by your side) and aim to keep a continuous movement - up and down, up and down with no pause at the bottom.
-
Start with the cable curl for your biceps. As you curl the weight feel the pressure of the bar in the palm of your hands - this naturally engages the biceps to move the weight (as opposed to the tendency to swing thus using momentum rather than your biceps to shift the weight). Flex for a second at the top and (like all other movements), control the weight down.
Attach the rope to the top cable. Apply pre-tension in your triceps before moving the weight down and make sure you have the full contractions by locking out those elbows at the bottom. On the way up, resist the weight slightly back to the starting position rather than letting the weights drop. Stay in control the whole time.
-
These are included as part of the gym workouts as they are a good finishing exercise after all the compound movements.
If the gym doesn’t have a stretch area or even space on the floor to do these (unlikely) you can substitute with rope crunches and face pulls on the cable machine.
Phase ONE: Day 4 - Lower
-
Mainly machine work here given the heavy sets of compounds done recently.
Leg Press: you are looking to work the same muscles here but the movement is simplified without the barbell. You should still brace and keep everything tight when press the weight.
-
More repetition rather than heavier weight here as there is a tendency to overcompensate with other muscles when performing this isolation. The lighter weight plus volume allows us to really focus on the contraction. This is a bicep curl for your hamstring so flex them at the top like you would for your arms.
-
Deadlifts again but this time with more a focus on technique work.
Start in your usual position. Once you have just lifted the weight off the ground, ‘pause’ in this position and hold the tension throughout your body for a second in this position before completing the movement all the way to the top. What this does is it helps exaggerate the required muscles required at the hardest point of the lift - when moving the dead weight off the ground.
-
Calf raises on the smith machine will require a raise platform so your heels are allowed to drop below parallel to maximise range of motion.
The alternative is to use a leg press machine and place the balls of your feet at the bottom of the leg press platform.
In either case, hold the contracted position of the calf at the top of the movement for a second before lowering to the starting position. High reps with progressive overload on each set.
-
Find the stretch area of the gym or if there isn’t one just find an appropriate are of the gym floor where you can perform these safely (away from falling weights).
To ensure we work the upper portion of your abdominals, raise your leg and continue until your butt is off the floor and feet is angled away from the wall facing you. 20 reps and then straight into the Angels & Devils.
Hold the superman pose for a moment and then imagine performing a lat pull down as you bring your elbows to the side of your torso. Finish the motion by meeting your hands behind your back.
Phase TWO: Day 1 - Upper
-
Use the Phase One weights for first two sets. This should warm you up adequately for the remaining sets of 4. the goal is to lift a considerably heavier weight than you are used to so for the first week experiment in small increments until you reach your limit. A good gauge on limit is whether you can safely and comfortably control the DBs onto your chest. If you need assistance its probably too heavy.
-
Stay on the bench and grab some light dumbbells. Start with the weights at the top position and slowly lower them with a slight bend in the elbow. Go as far as possible at which point there will be a nice stretch across your chest. As you return to the starting position notice where the chest is contracting. At the top you want to imagine pushing the weight towards the ceiling to create a slight flex in your chest.
-
Choose a heavy weight for last 2 sets. You can use your bodyweight to pull the bar into the starting position. From here, grip tight, brace your call and pull that load with all your might. Given the weight, this movement should almost be in slow motion. 4 reps only.
-
Set the cables to the highest position and start with the face pull. Thumbs pointing to the wall behind you as you pull the rope towards your forehead. Movement should be fluid and with even tempo. A heavy weight isn’t necessary as you the point of this exercise is to even out the posture which results in sitting down all day.
Superset into the straight arm pull down. Again there needs to be an even tempo here. The cable is ideal as it allows you to pull just past your hips to increase contraction. Body position should be similar to the barbell back row - knees bent with glutes extended behind you, stable feet and core. Feel the lats stretch.
-
Hand placement should be a tad wider than shoulder width but experiment to see which placement yields the most contraction as we all move differently.
Utilise pause reps during a set to complete the required reps. Don’t force the reps out as the body will naturally arch excessively to lift the weight. When you feel this happening, rack the bar, rest for 10 seconds do one rep (or two) and rest again for another 10 seconds if necessary until all reps are complete.
-
Choose a light weight and then progress heavier once you have a feel of what muscles these are meant to be working - the side delts. Start by tensing the shoulder muscles - this triggers the brain into using the delts to move the weight rather than the hand. Slowly move this weight until your palms are facing the floor. Pause for a second and then control the weight back down - don’t let it drop. You need to be in control of the weight not gravity.
-
These are included as part of the gym workouts as they are a good finishing exercise after all the compound movements.
If the gym doesn’t have a stretch area or even space on the floor to do these (unlikely) you can substitute with rope crunches and face pulls on the cable machine/
Phase TWO: Day 2 - Lower
This is the same structure and rep scheme as Phase ONE. For Phase TWO, please use a heavier load. Rest times have increased. You have 2 days here so nothing fancy. Just do what works.
-
Progressive overload for each set meaning as weight should be added for each set. Heavy squats require a proper warm up and given we are all short on time, this is the right balance between going heavy and mitigating injury.
Before the first set, warm up with the bar and pause half way down, feel how the bar is balanced on your feet. Try and maximise contact between your feet and the ground as this stability is key for moving heavy weights safely. Do a few reps like this and then full squats with just the bar.
As the weights get heavier the motion and tempo should remain the same. To achieve this, think about how the muscles should be working to move the weight. Be mindful of how your body is moving through the space you are occupying. Mindless movement leads to injury. Focus.
-
Stay on the squat rack. Step back and alternate legs. 8 reps on each side. As you feel the stretch on your glutes, focus on that feeling and use those muscles to drive the weight back up. Maintaining the barbell balanced adds a different dynamic to this movement but it helps engage your core.
-
Similar to the squats, these rep splits are deliberate in order to maximise hypertrophy and mitigating injury through sensible progressive overload.
The last 2 sets may become too heavy after a few reps in which case let go of the bar rather than complete the rep. The deadlift is not a movement you want to grind through.
-
Calf raises on the smith machine will require a raise platform so your heels are allowed to drop below parallel to maximise range of motion.
The alternative is to use a leg press machine and place the balls of your feet at the bottom of the leg press platform.
In either case, hold the contracted position of the calf at the top of the movement for a second before lowering to the starting position. High reps with progressive overload on each set.
-
Find the stretch area of the gym or if there isn’t one just find an appropriate are of the gym floor where you can perform these safely (away from falling weights).
To ensure we work the upper portion of your abdominals, raise your leg and continue until your butt is off the floor and feet is angled away from the wall facing you. 20 reps and then straight into the Angels & Devils.
Hold the superman pose for a moment and then imagine performing a lat pull down as you bring your elbows to the side of your torso. Finish the motion by meeting your hands behind your back.
Phase TWO: Day 3 - Upper
Same structure as Phase ONE but with progressive overload (ie choose a heavier weight after each set)
-
Heavier weight for each set except for the AMRAP set which should be a drop set.
-
If there is failure towards the last 2-3 reps then finish the set with pause reps (drop weights, rest 10 seconds and continue the set). Don’t close your eyes and grit the reps through as this will likely lead to poor form and then injury.
-
As the smith machine follows a fixed path, make sure your hand placement doesn’t cause any pain in the shoulders. A wider than usual grip (when compared to your normal barbell placement) works for most people.
Accelerate the weight up and hold that tension at the top before controlling the bar back to the starting position. On the way down you want to still feel like you are fighting against the weight - this maintains greater tension on the shoulders and maximises time under tension.
Jump straight into the lateral raises (have them ready by your side) and aim to keep a continuous movement - up and down, up and down with no pause at the bottom.
-
Start with the cable curl for your biceps. As you curl the weight feel the pressure of the bar in the palm of your hands - this naturally engages the biceps to move the weight (as opposed to the tendency to swing thus using momentum rather than your biceps to shift the weight). Flex for a second at the top and (like all other movements), control the weight down.
Attach the rope to the top cable. Apply pre-tension in your triceps before moving the weight down and make sure you have the full contractions by locking out those elbows at the bottom. On the way up, resist the weight slightly back to the starting position rather than letting the weights drop. Stay in control the whole time.
-
These are included as part of the gym workouts as they are a good finishing exercise after all the compound movements.
If the gym doesn’t have a stretch area or even space on the floor to do these (unlikely) you can substitute with rope crunches and face pulls on the cable machine.
Phase TWO: Day 4 - Lower
-
Mainly machine work here given the heavy sets of compounds done recently.
Leg Press: you are looking to work the same muscles here but the movement is simplified without the barbell. You should still brace and keep everything tight when press the weight.
-
More repetition rather than heavier weight here as there is a tendency to overcompensate with other muscles when performing this isolation. The lighter weight plus volume allows us to really focus on the contraction. This is a bicep curl for your hamstring so flex them at the top like you would for your arms.
-
Deadlifts again but this time with more a focus on technique work.
Start in your usual position. Once you have just lifted the weight off the ground, ‘pause’ in this position and hold the tension throughout your body for a second in this position before completing the movement all the way to the top. What this does is it helps exaggerate the required muscles required at the hardest point of the lift - when moving the dead weight off the ground.
-
Calf raises on the smith machine will require a raise platform so your heels are allowed to drop below parallel to maximise range of motion.
The alternative is to use a leg press machine and place the balls of your feet at the bottom of the leg press platform.
In either case, hold the contracted position of the calf at the top of the movement for a second before lowering to the starting position. High reps with progressive overload on each set.
-
Find the stretch area of the gym or if there isn’t one just find an appropriate are of the gym floor where you can perform these safely (away from falling weights).
To ensure we work the upper portion of your abdominals, raise your leg and continue until your butt is off the floor and feet is angled away from the wall facing you. 20 reps and then straight into the Angels & Devils.
Hold the superman pose for a moment and then imagine performing a lat pull down as you bring your elbows to the side of your torso. Finish the motion by meeting your hands behind your back.